1.1 - Launch NeuralSeek
Log in
Log in to the AWS Console Marketplace page.

Click the yellow Manage subscriptions button.
Discover products
⚠️ If you already have subscribed to NeuralSeek, you do not have to do these steps. Please move to the Manage subscriptions section and continue.
On the left side menu, click Discover products.
In the Search AWS Marketplace products enter NeuralSeek and press enter. You will see two products in the search result:
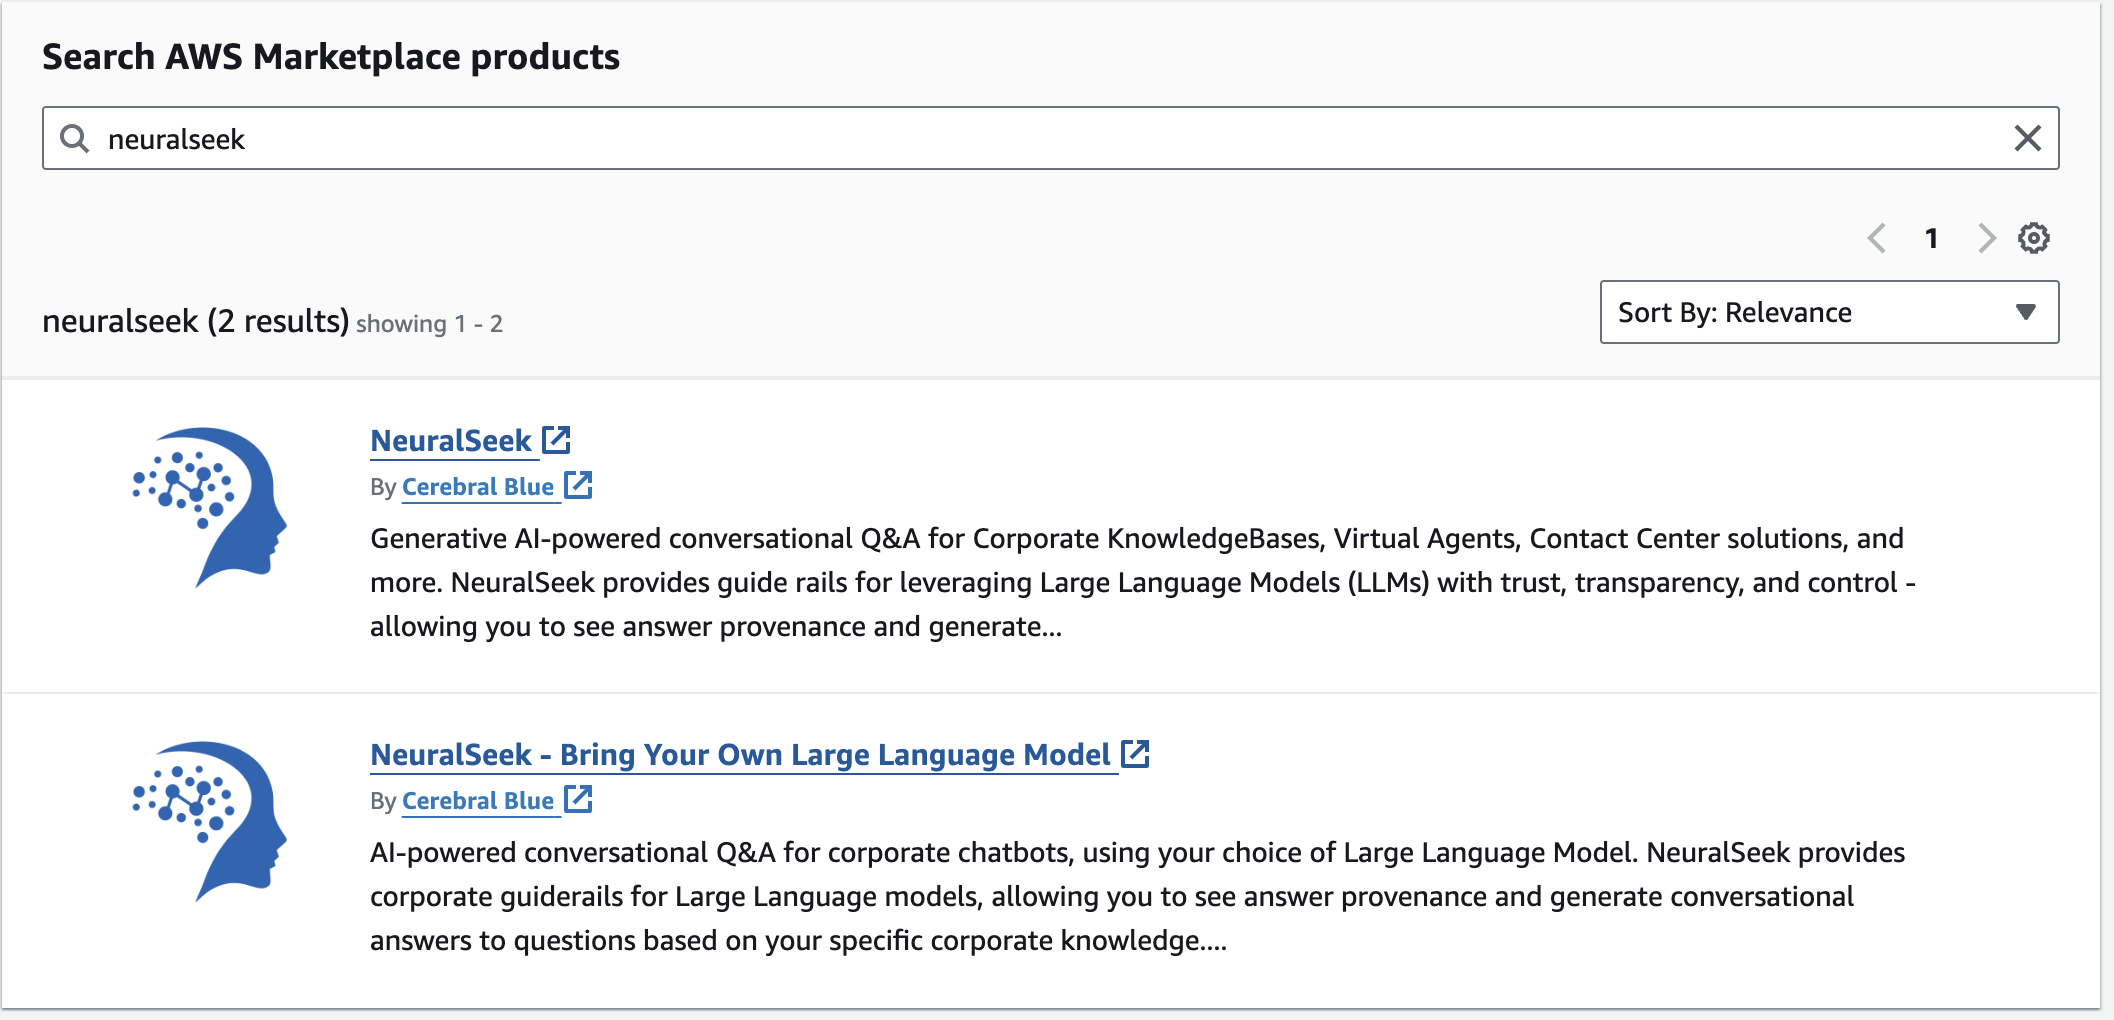
Selecting the product
If you do not have access to your own large language model (LLM), you may choose the first one which is NeuralSeek, which does provide our curated LLM included in it.
If you do have your own LLM, and thus have the necessary keys and region, (role access key, secret access key, and region) you can choose NeuralSeek - Bring Your Own Large Language Model.
⚠️ Please note that these NeuralSeek subscriptions, when created, will incur billing and cost as they are used.
Purchasing
After you select a product from the list, click the View purchase options button at the top right.
Review the offer, and pricing information. When ready click the Subscribe button under Purchase.
Manage Subscriptions
Go back to your Manage subscriptions page.
You may either have NeuralSeek or NeuralSeek - Bring Your Own Large Language Model depending on what you chose to subscribe for the lab.
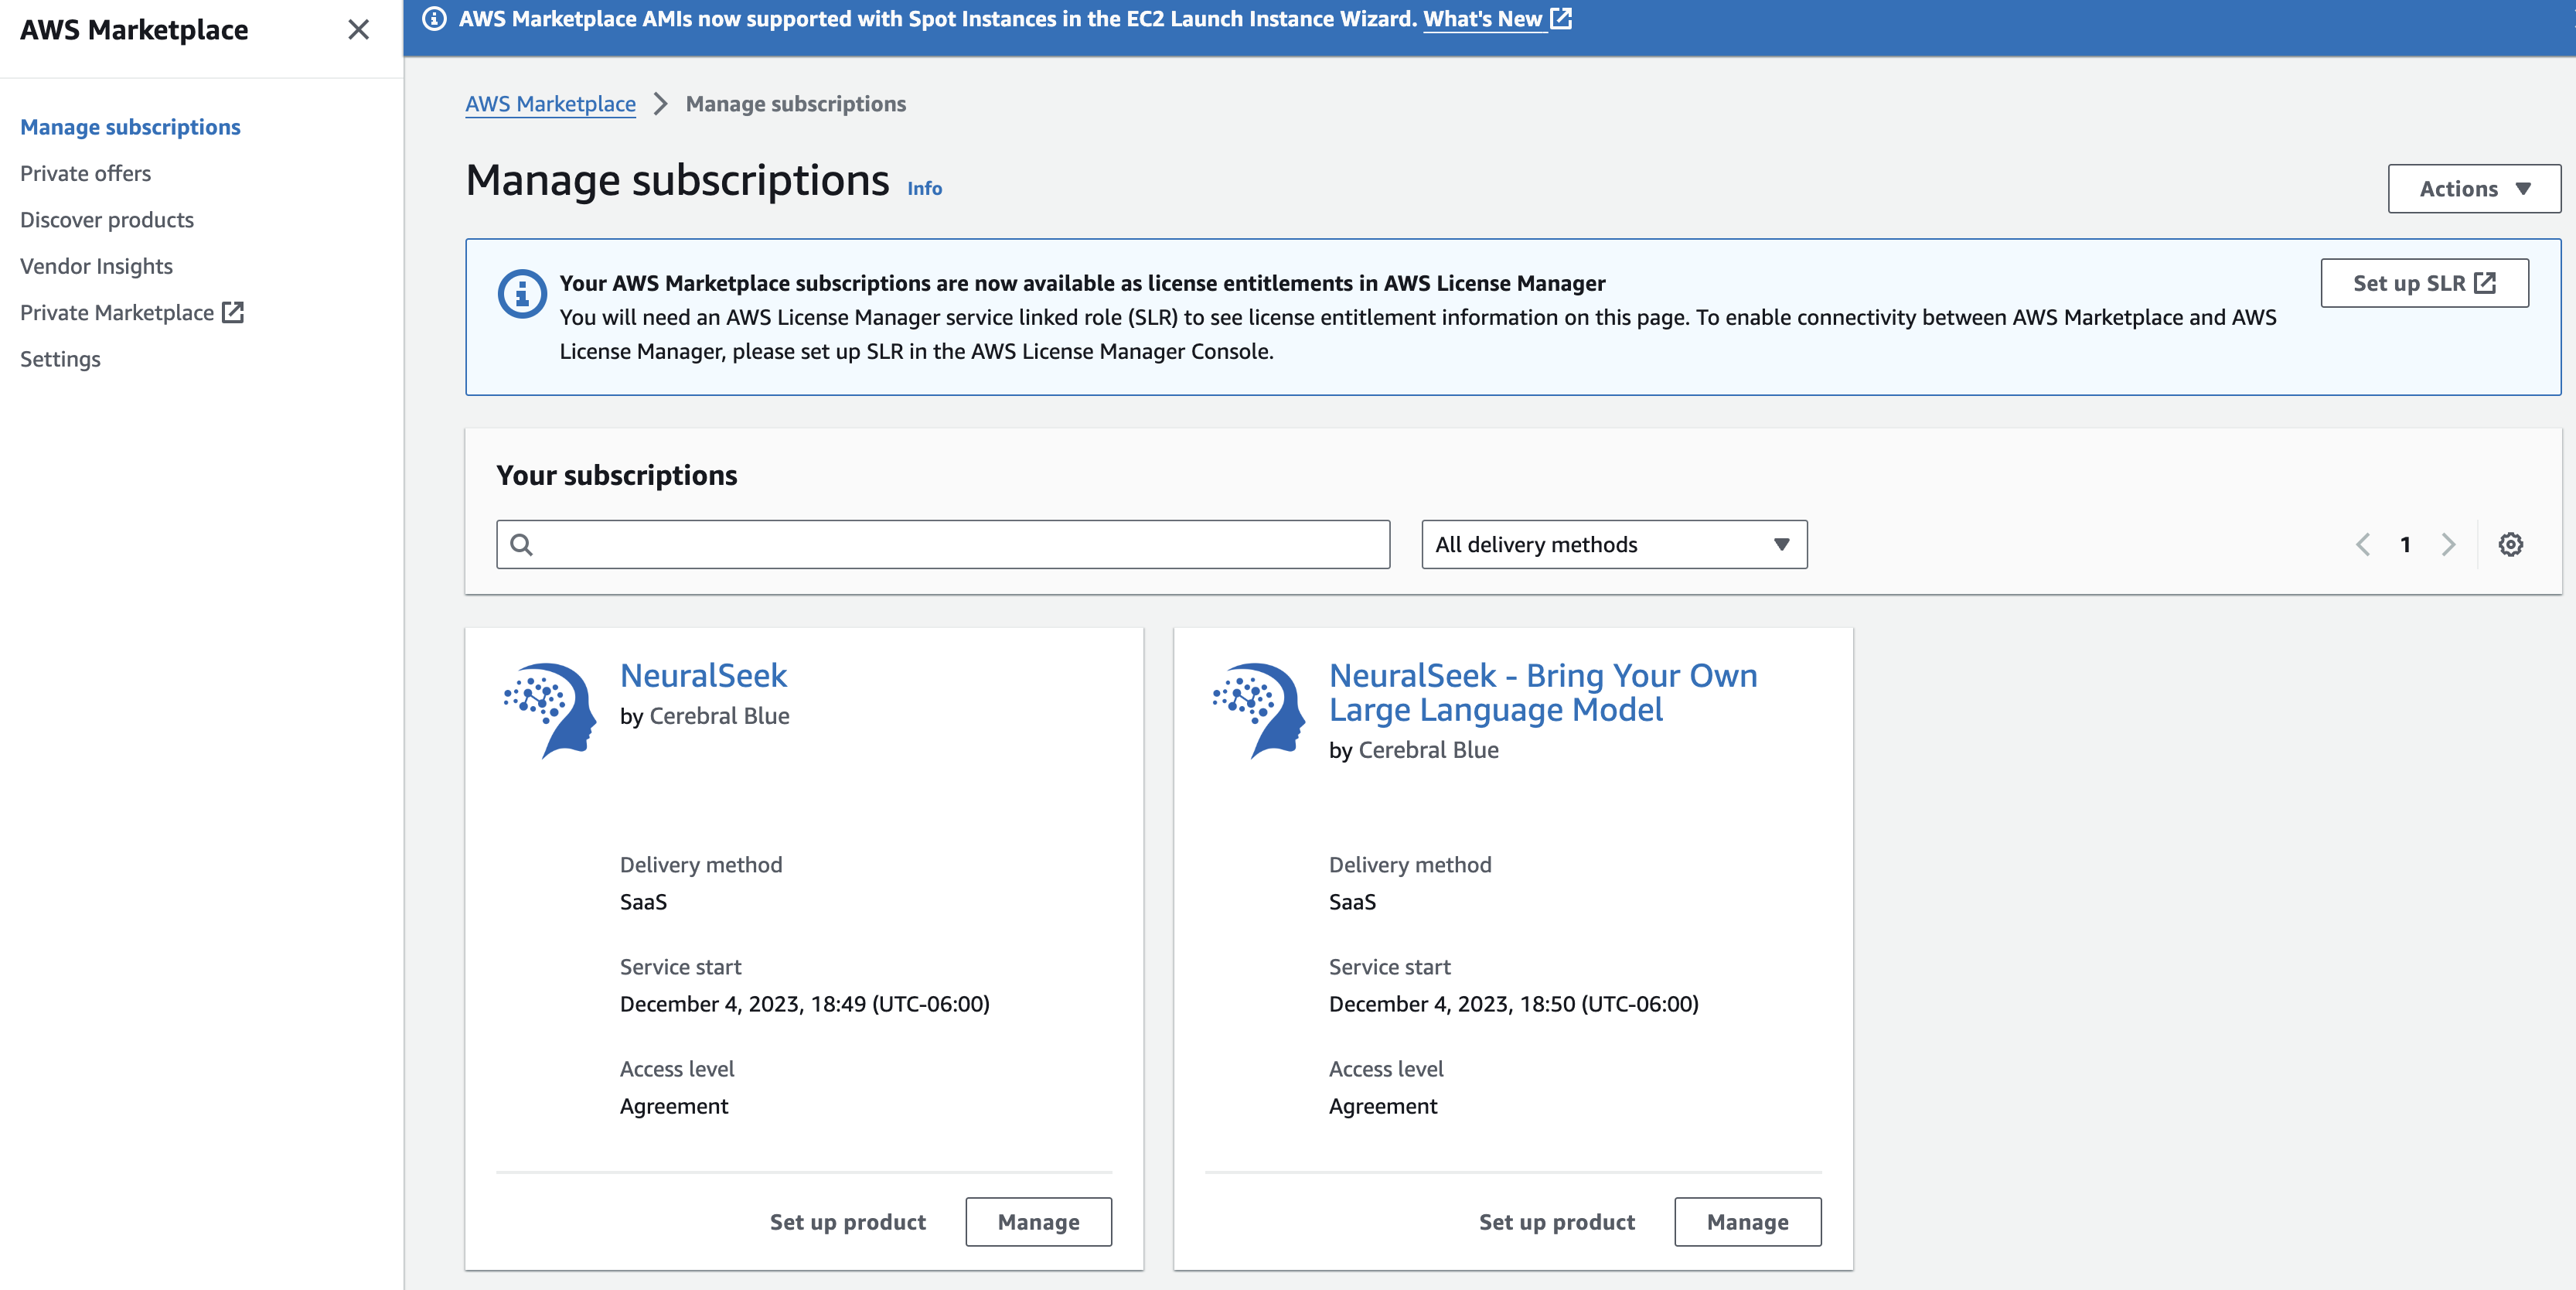
Set up Product
Click Set up Product in the bottom right corner to enter the product setup page.
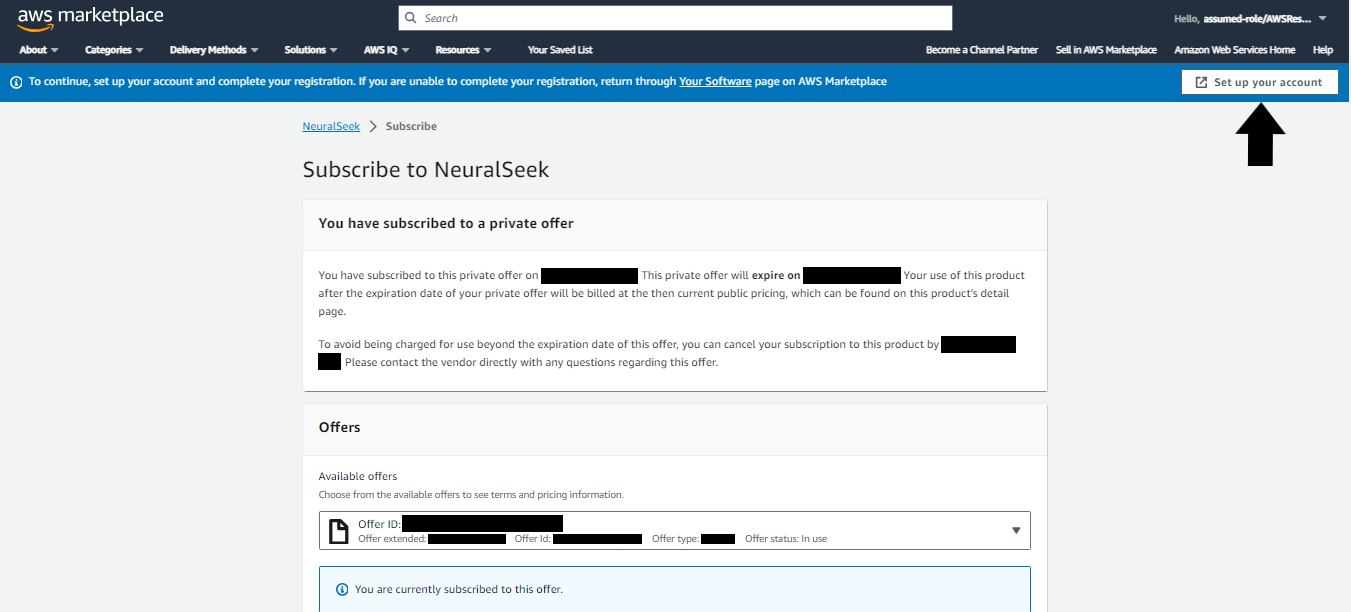
Set up Account
Click Set up your account in the top right corner to enter the NeuralSeek instance control page.
User Interface
NeuralSeek's instance control page should be initially empty. Here, we need to:
- Create a user for accessing NeuralSeek instance
- Create an instance of NeuralSeek
- Add created user to the created NeuralSeek instance

Create a User
You will need to have a user account to be able to connect to NeuralSeek.
- (a) Enter email address into Add User (Email) box.
- (b) Click on the plus icon to add a user.

Generate Password
- (a) Newly created user’s email will populate below.
- (b) A new password will be generated. Passwords can be changed later using the password reset functionality.
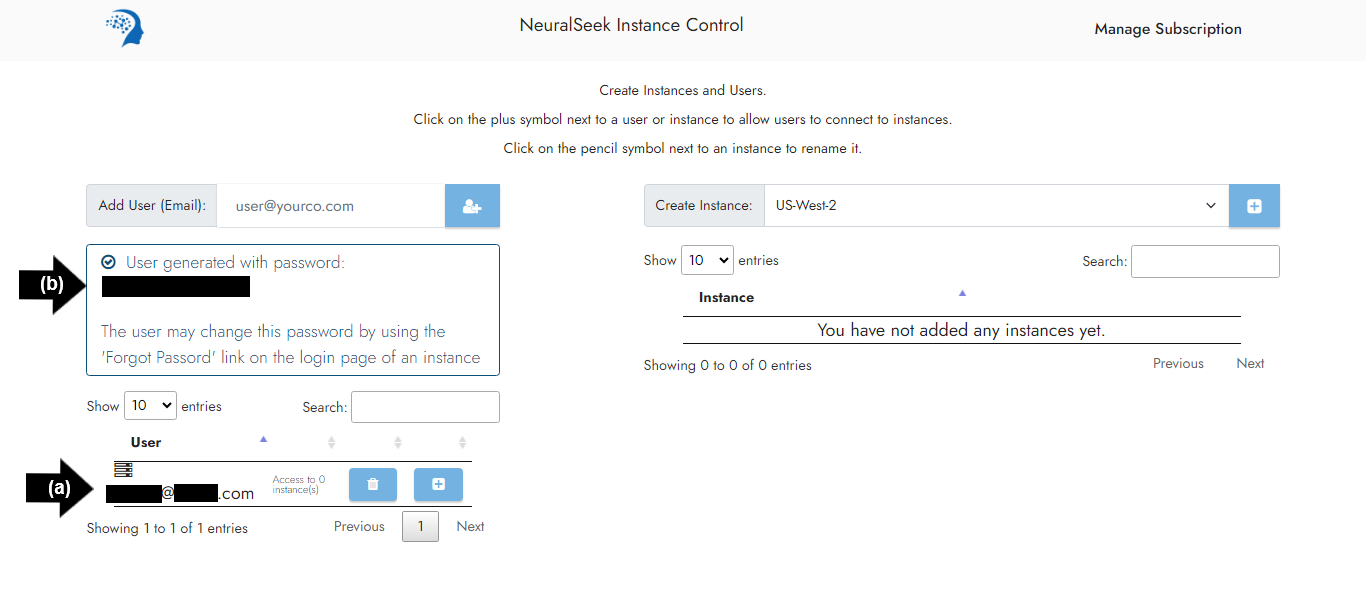
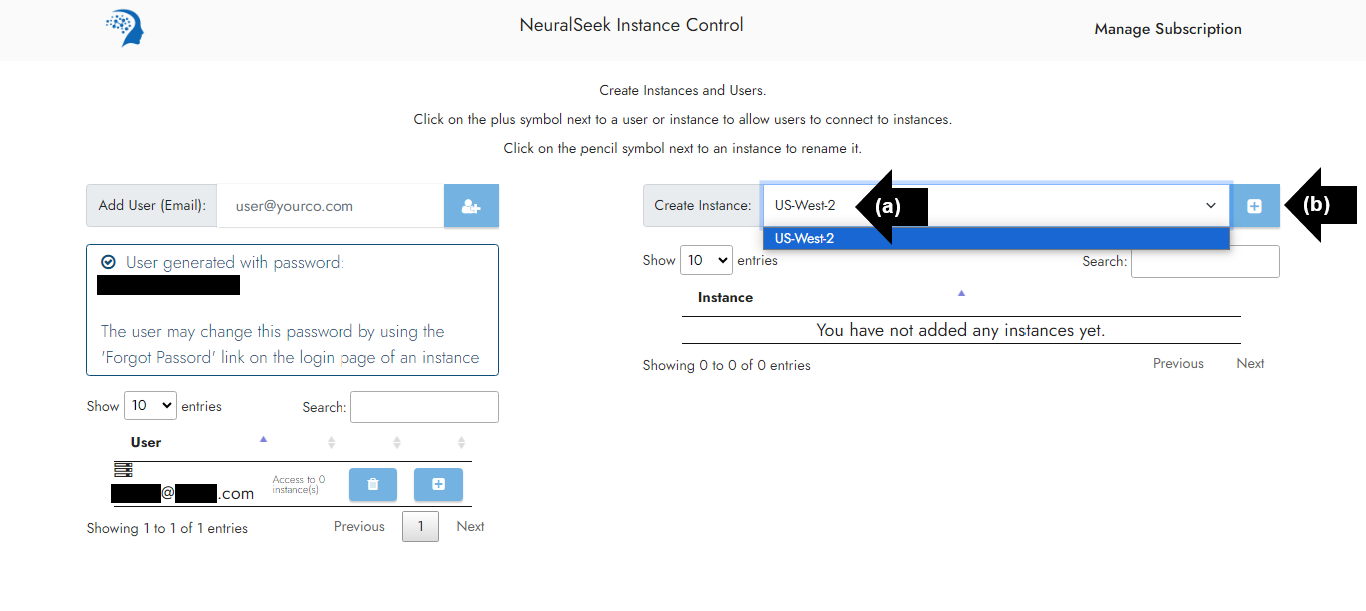
Create an Instance
Generating an instance at this stage will not initiate any server activity. Creating an instance merely establishes a unique identifier within the database, enabling authentication and access to the system.
- (a) Select desired location in the Create Instance box. For this lab, we recommend
US-West-2. - (b) Click the plus icon to create an instance.
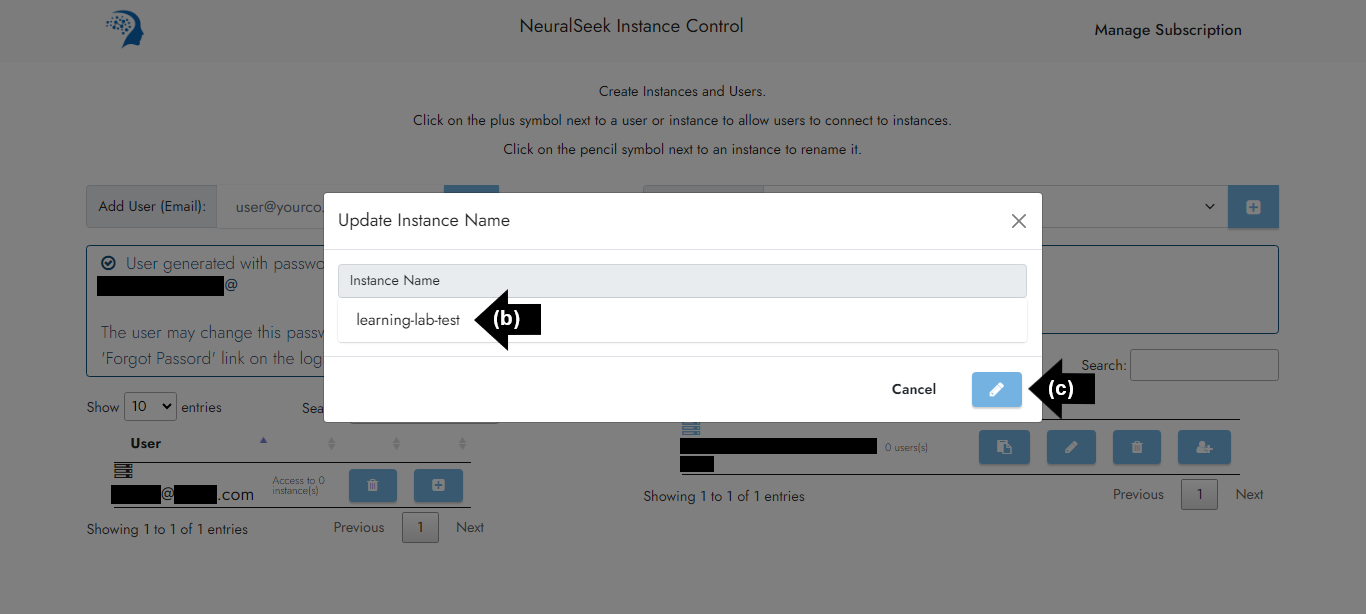
Update Instance Name
The newly created instance will populate below, and an instance ID will be generated.
- (a) Click the writing tool icon.
- (b) Enter desired instance name into text box. For the purpose of this lab, we recommend
learning-lab-test. - (c) Click the writing tool icon to save changes.
- (d) Updated instance name will populate.


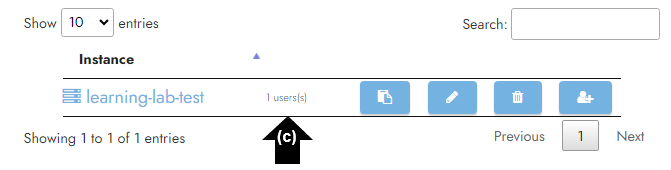
Connect
To allow the user to connect to the instance:
- (a) Click
Configure User Access to Instancesplus icon. - (b) Click the plus icon.
- (c) User is now able to connect to the instance.


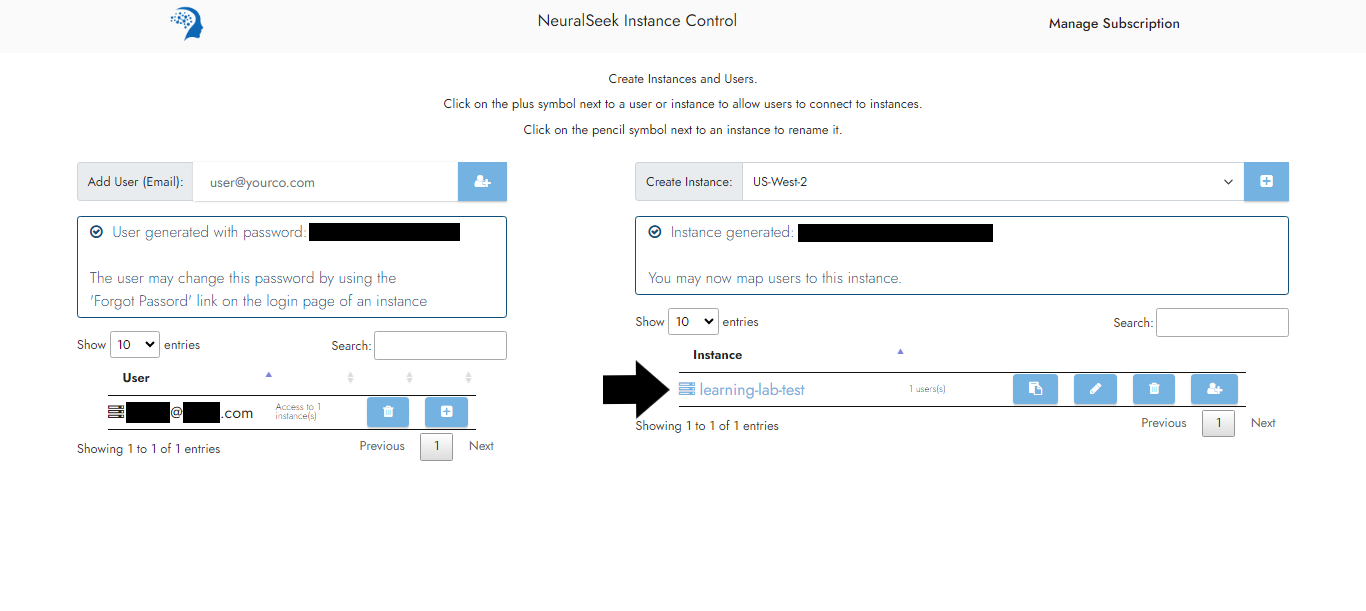
Instance Link
Click the instance link learning-lab-test in the list of instances.
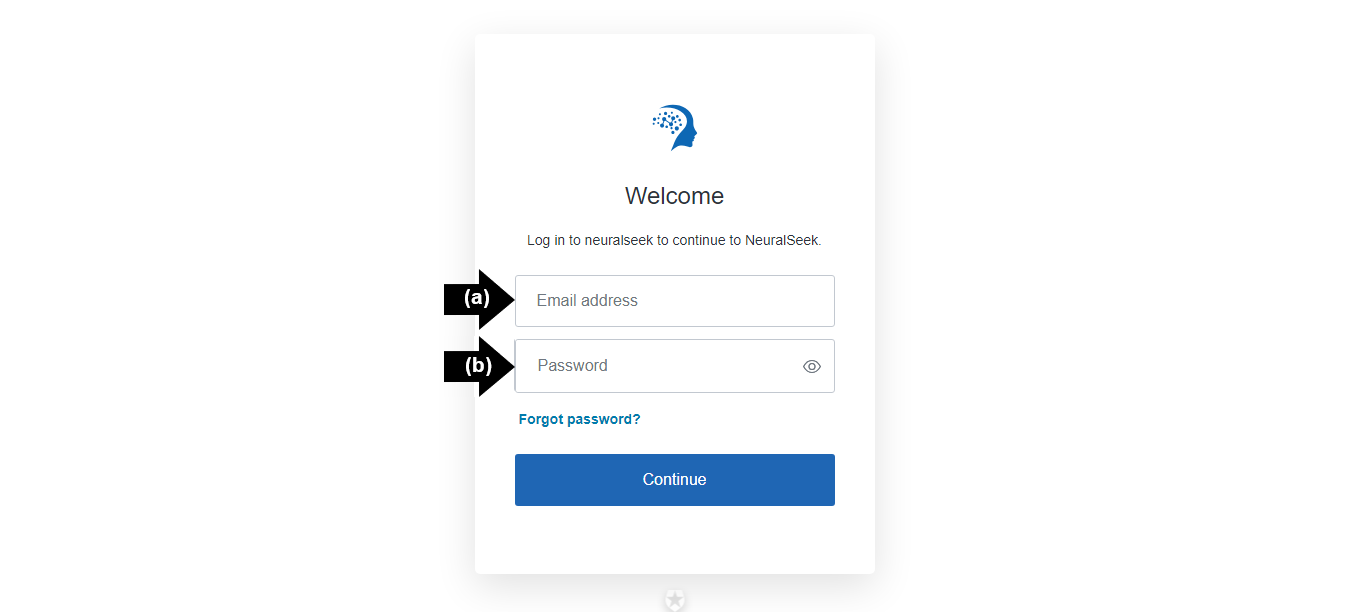
Log In
Fill out the necessary information below to log in to NeuralSeek.
- (a) Enter user email address.
- (b) Enter user password generated from the Create a User section.
If desired, you are able to reset the password using the Forgot password? link.
Continue
Click Continue to be directed to the NeuralSeek user interface page.
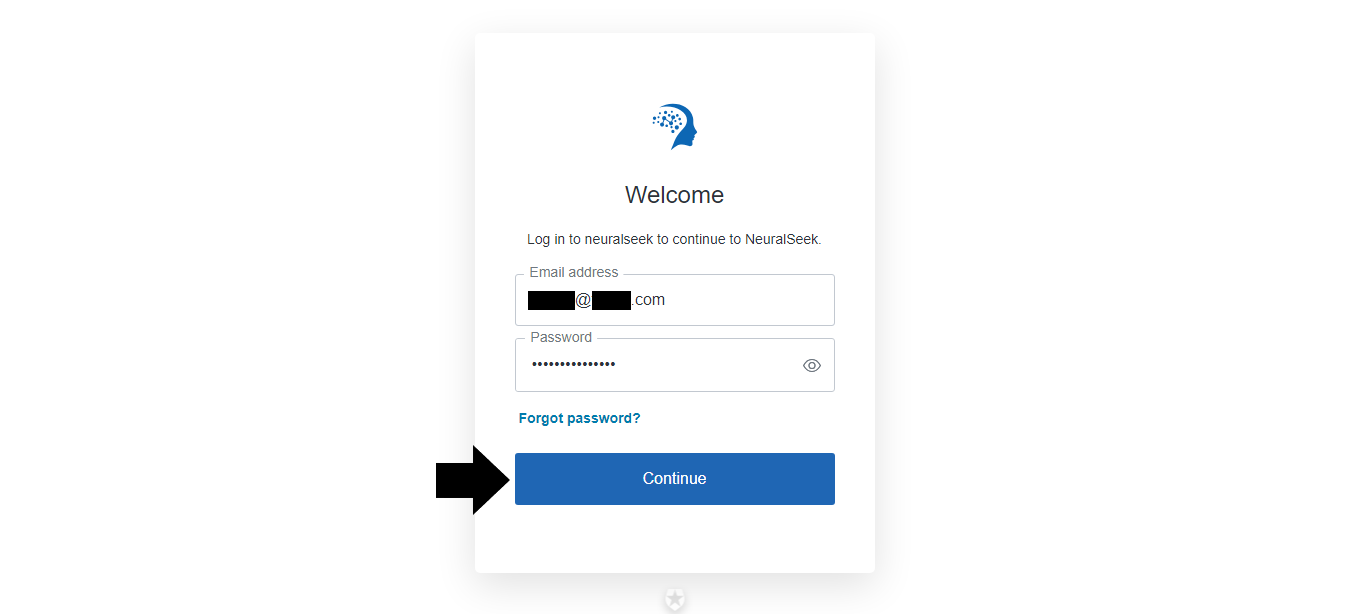
An active user and instance of NeuralSeek is now set up within the AWS console and ready to be connected to a KnowledgeBase.
⚠️ For 'NeuralSeek - Bring Your Own Large Language Model' lab participants:
If you have selected NeuralSeek - Bring Your Own Large Language Model and wish to use your own LLM for the lab, please refer to the Additional Information - LLM section of the lab guide for steps to configure your LLM on NeuralSeek.