2.3 - Curated Intents
As users ask questions to NeuralSeek, their questions and the generated answers will appear in NeuralSeek's Curate section. Questions will be grouped into recommended intents, and it is important to note that a questions and answer pair may exist in multiple proposed intents of different specificity. It is up to you to choose which specificity level is best for your use case.
View chatbot preview questions in NeuralSeek
Login to the NeuralSeek User Interface.
- On the top menu, click the “Curate” tab.
Compare Coverage Score
Users are able to compare coverage scores between intents.
- (a) Compare the high coverage score for the question, “What is NeuralSeek's Seek feature?”.
- (b) Compare the low coverage score for the question, “What is the best cereal?”.
There is no source information in the selected KnowledgeBase on why the sky is blue, but there is source information on NeuralSeek's features, which explains the difference in coverage scores.
Additional actions
When you click one of the answers, the system automatically notifies you of actions you may perform on the row via the blue toolbar above.
- Click “Delete” to remove.
- Click “Merge” to merge with other checked seeks.
- Click “Flag” to return to later.
- Click “Download to CSV” to collaborate with subject-matter experts.
- Click “Edit Category” to place into a category.
- Click "Export" to download a basefile for uploading to your virtual assistant.
- Click "Import" to upload a basefile from your virtual assistant. NeuralSeek will merge exported content with this basefile.
Intent Categorization
Users are able to create categories using natural language descriptions to control how intents in user questions can be categorized. Typically, a question would be automatically categorized as FAQ, but users are able to provide additional custom categories.
Once categorization is enabled, the Curate and Analytics screens will change to show groupings around categories.
Users may move intents into categories manually through the Curate tab or the CSV download/edit features. The edits made will be used to train the system for future categorization events.
Add Intent Categories
Navigate to the Configure tab within NeuralSeek, and expand the Intent Categorization field.
- Click the light bulb icon to add a new category row.
- Add a title to the category in the first box on the left side. For example, add:
Virtual Agents. - Underneath, add a link to the source documentation containing information about the category. For example, add
https://documentation.neuralseek.com/integrations/supported_virtual_agents/supported_virtual_agents/.
Describe Categories
The box on the right side is where users are able to add a natural language description of the category.
- Add a description of the category. For example, add:
Virtual Agents that are supported by NeuralSeek.. - Click the red Save icon at the bottom of the screen to save the newly added Intent Category.
Seek Answers based on Intent Category
Navigate to the Seek tab within NeuralSeek.
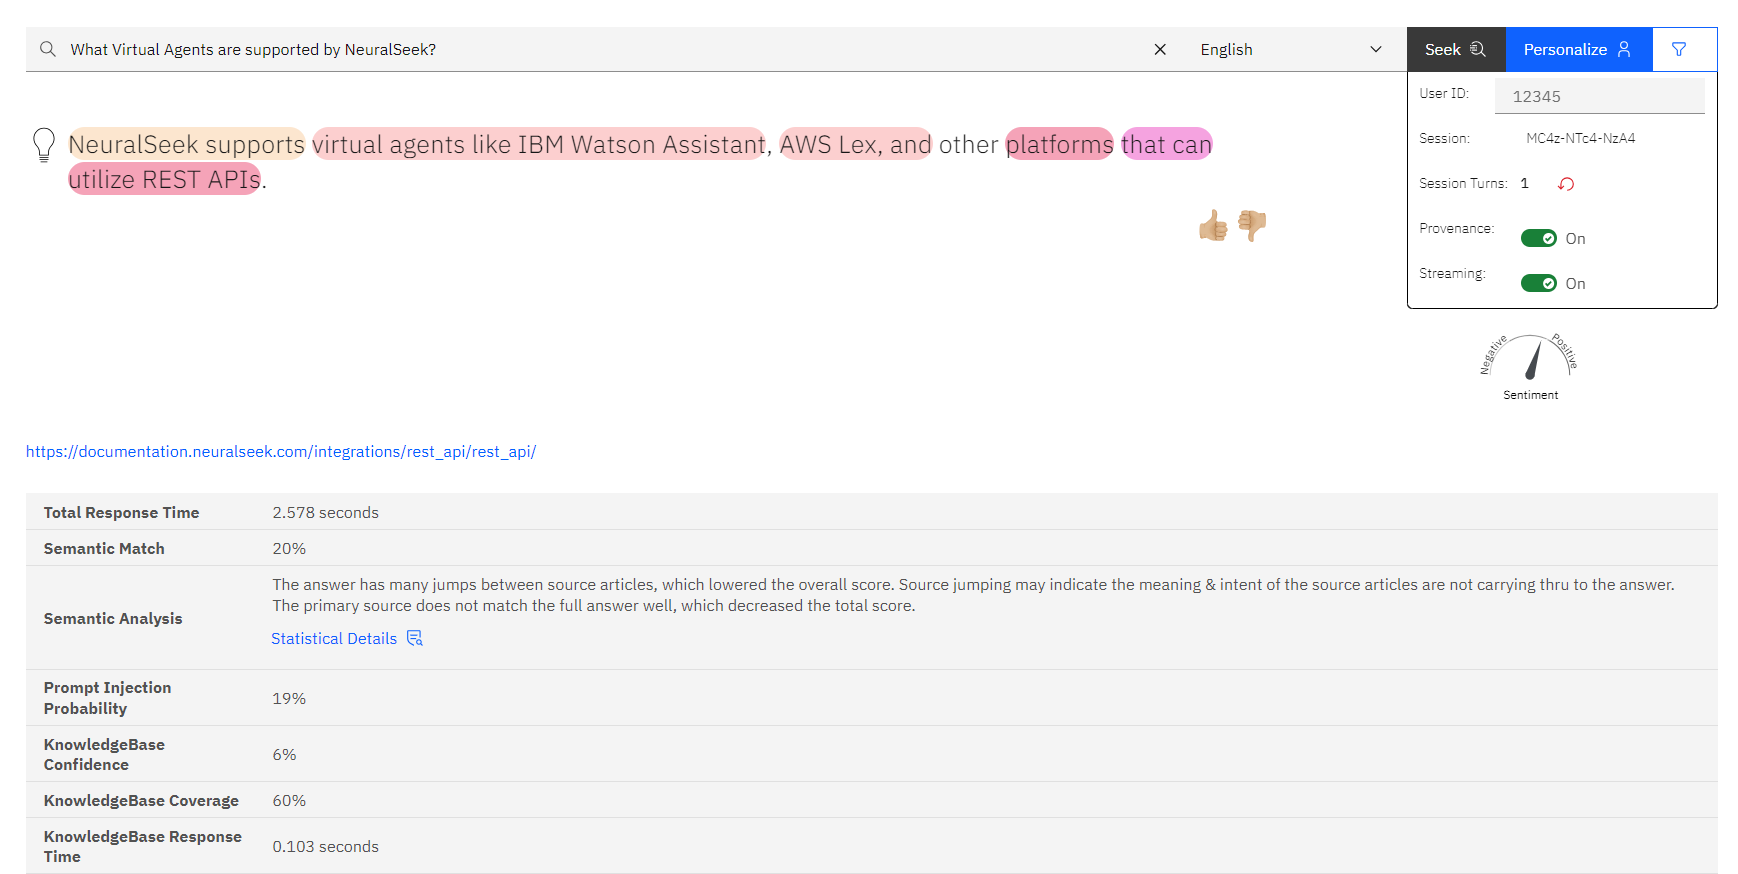
- Ask a question involving the newly created Intent Category, so the Intent will appear in the Curate and Analytics screen as well.
- For example, seek:
What Virtual Agents are supported by NeuralSeek?, orDoes NeuralSeek support Virtual Agent integration?.
- For example, seek:
View Intent Categories
Navigate to the Curate tab within NeuralSeek.
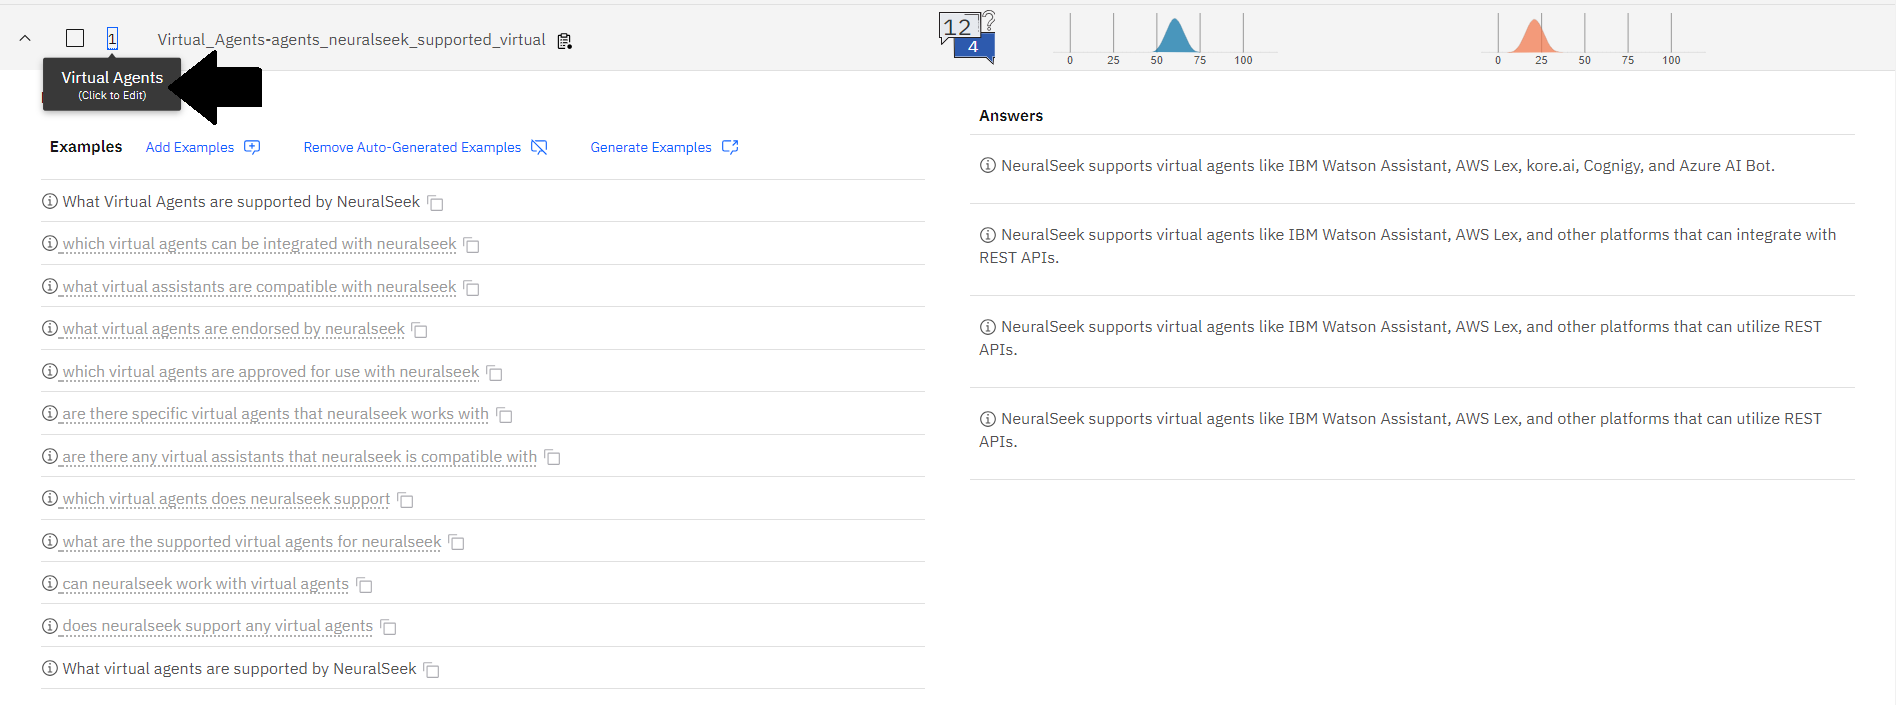
- Notice how there is a number 1 next to the new intent underneath the Category label.
- Click the number to view the name of the category that intent is now placed in.
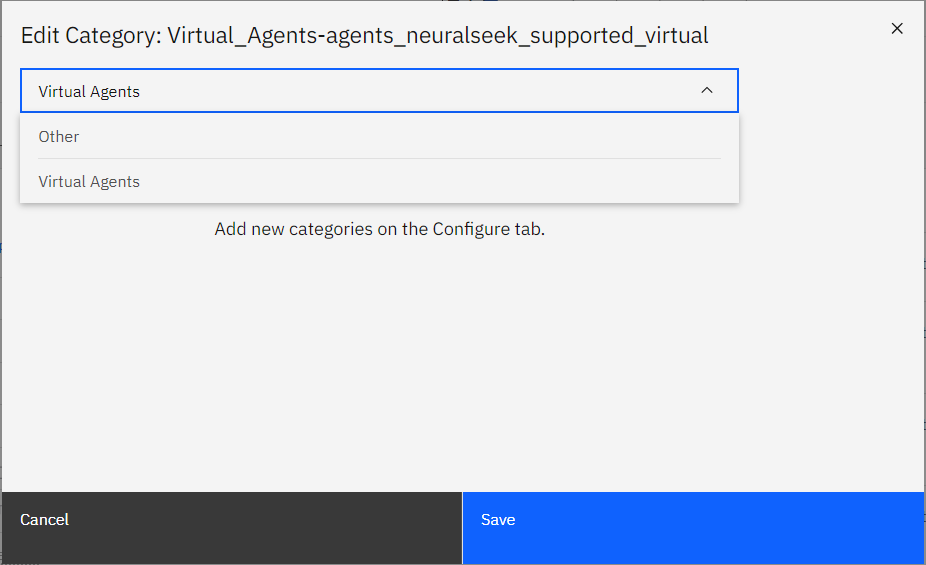
- Optionally, you can edit which category Intents fall into by selecting from the dropdown menu.
Navigate to the Analytics tab within NeuralSeek to view the Intent history of the newly created category as well.
Export Curate Intents
NeuralSeek makes bootstrapping your virtual agent project easy with its Export/Import abilities within the Curate tab.
- Select desired intents by clicking the box next to the Intent.
- Click the blue Export button at the top of the screen to download the respective file type based on your connected Virtual Assistant framework.
- File types include:
- actions.json file for watsonx Assistant Actions
- lex.zip file for AWS LexV2
- File types include:
Adding Intents to Virtual Agent
Upload these files into their respective virtual agent platforms to bootstrap your project with manually curated intents.
Steps for IBM watsonx Assistant
- Navigate to your watsonx Assistant project and click on Actions.
- In the top right corner, click the gear icon to open Global Settings
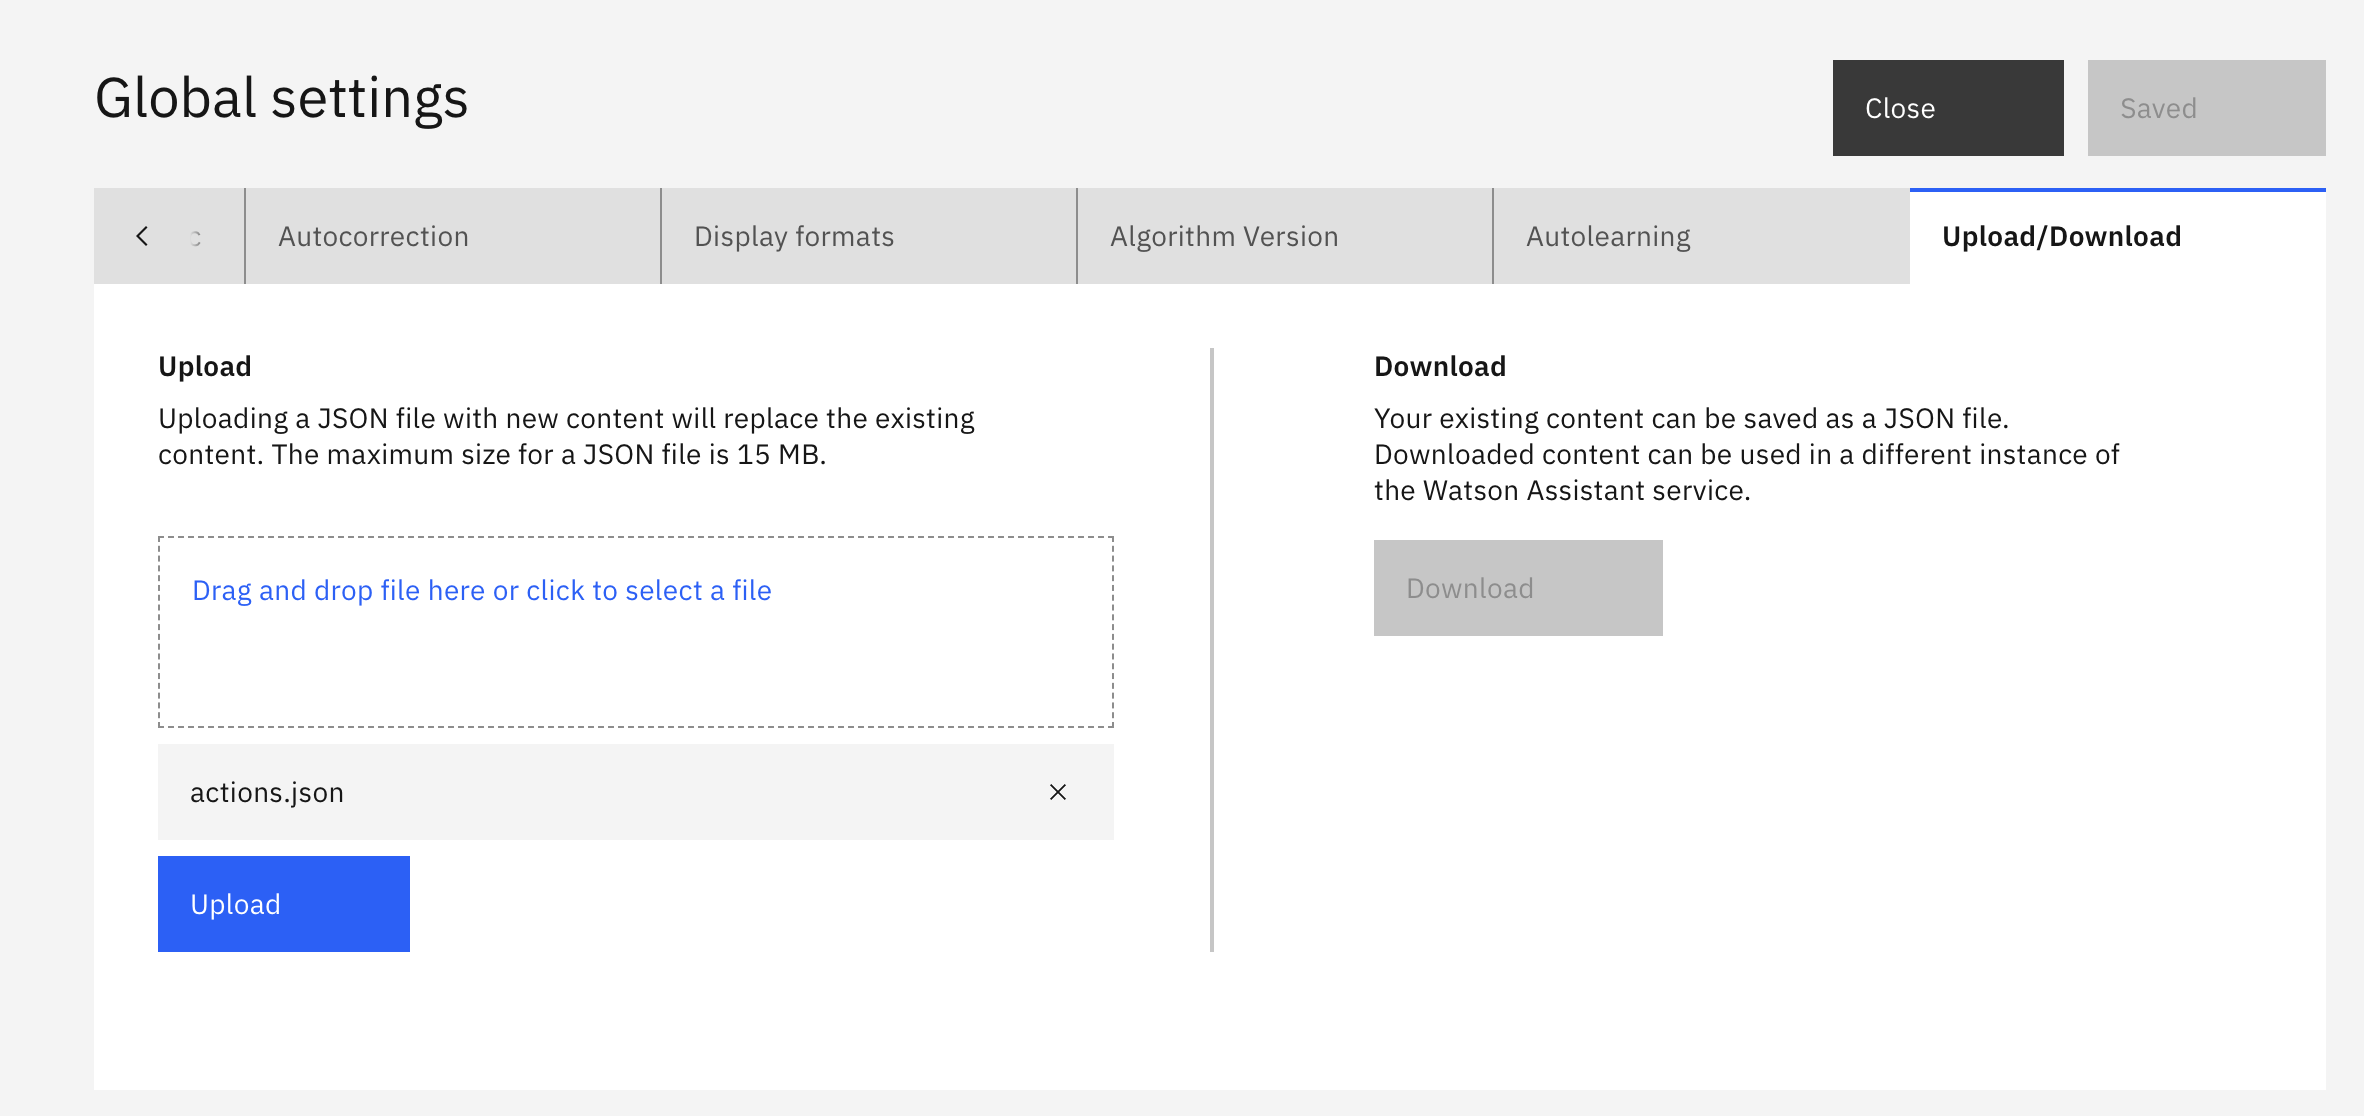
- Click Upload/Download, and click the download button to download a JSON file of the existing content in your virtual agent.
- A JSON file will be saved to your local machine.
- Navigate to the Curate Tab of NeuralSeek
- Click the Import Base button to upload the JSON file from the virtual agent.
- Now, select one or more intents which you want to import into watsonx Assistant. You will notice a new button is display which is Export to watsonx Assistant Actions.
- It will download a JSON file called actions.json which will contain the selected intents that you want to convert it into watsonx Assistant Actions.
- Navigate back to watsonx Assistant. At the same page where you just downloaded the JSON, click to Upload the actions.json file downloaded from NeuralSeek.
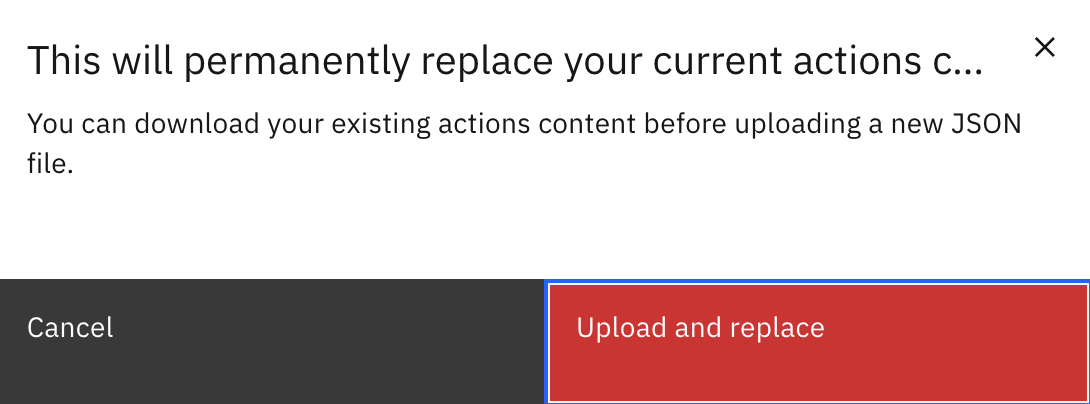
- You will see a warning message. Click
Upload and replace.
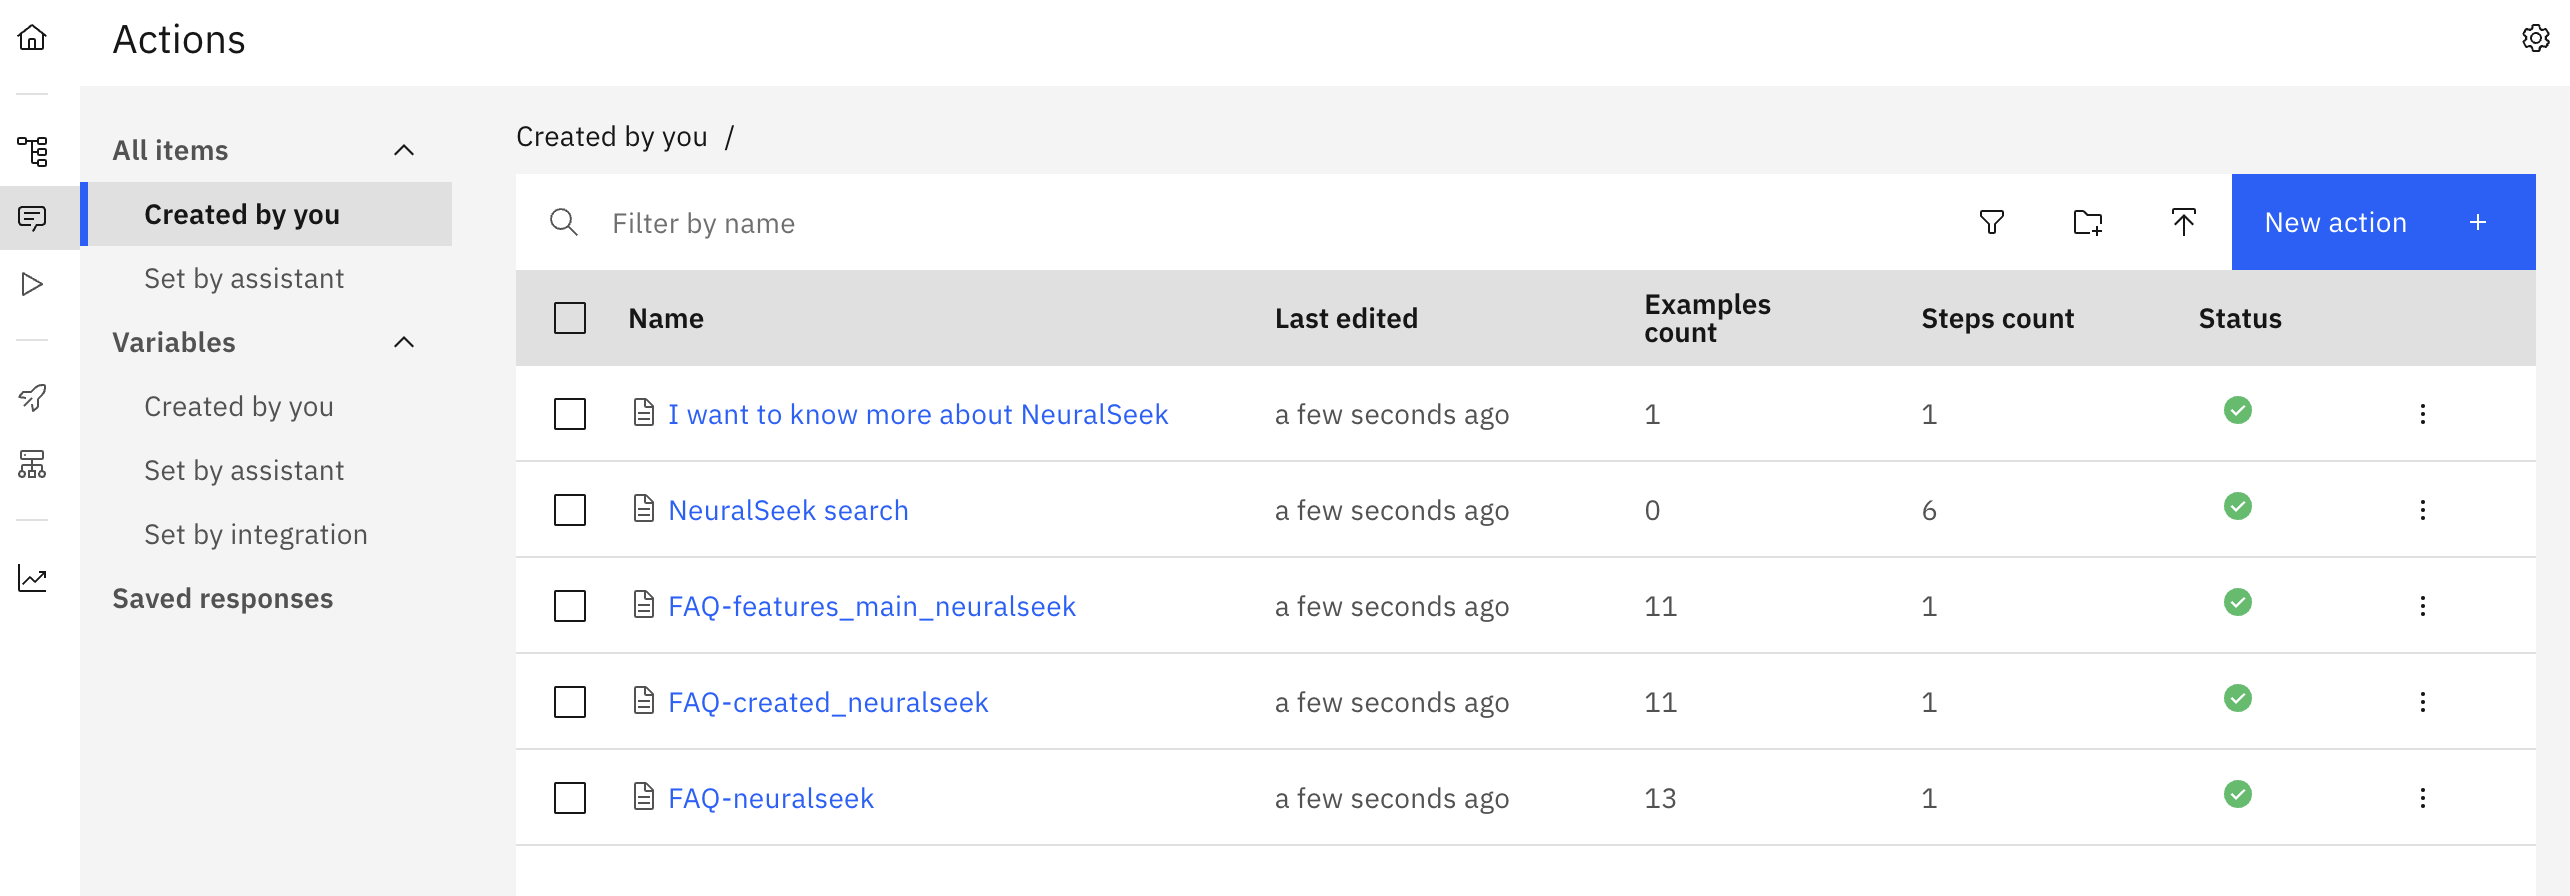
- To view the newly uploaded intents, close this page, and you will see the exported actions appear on your actions list.
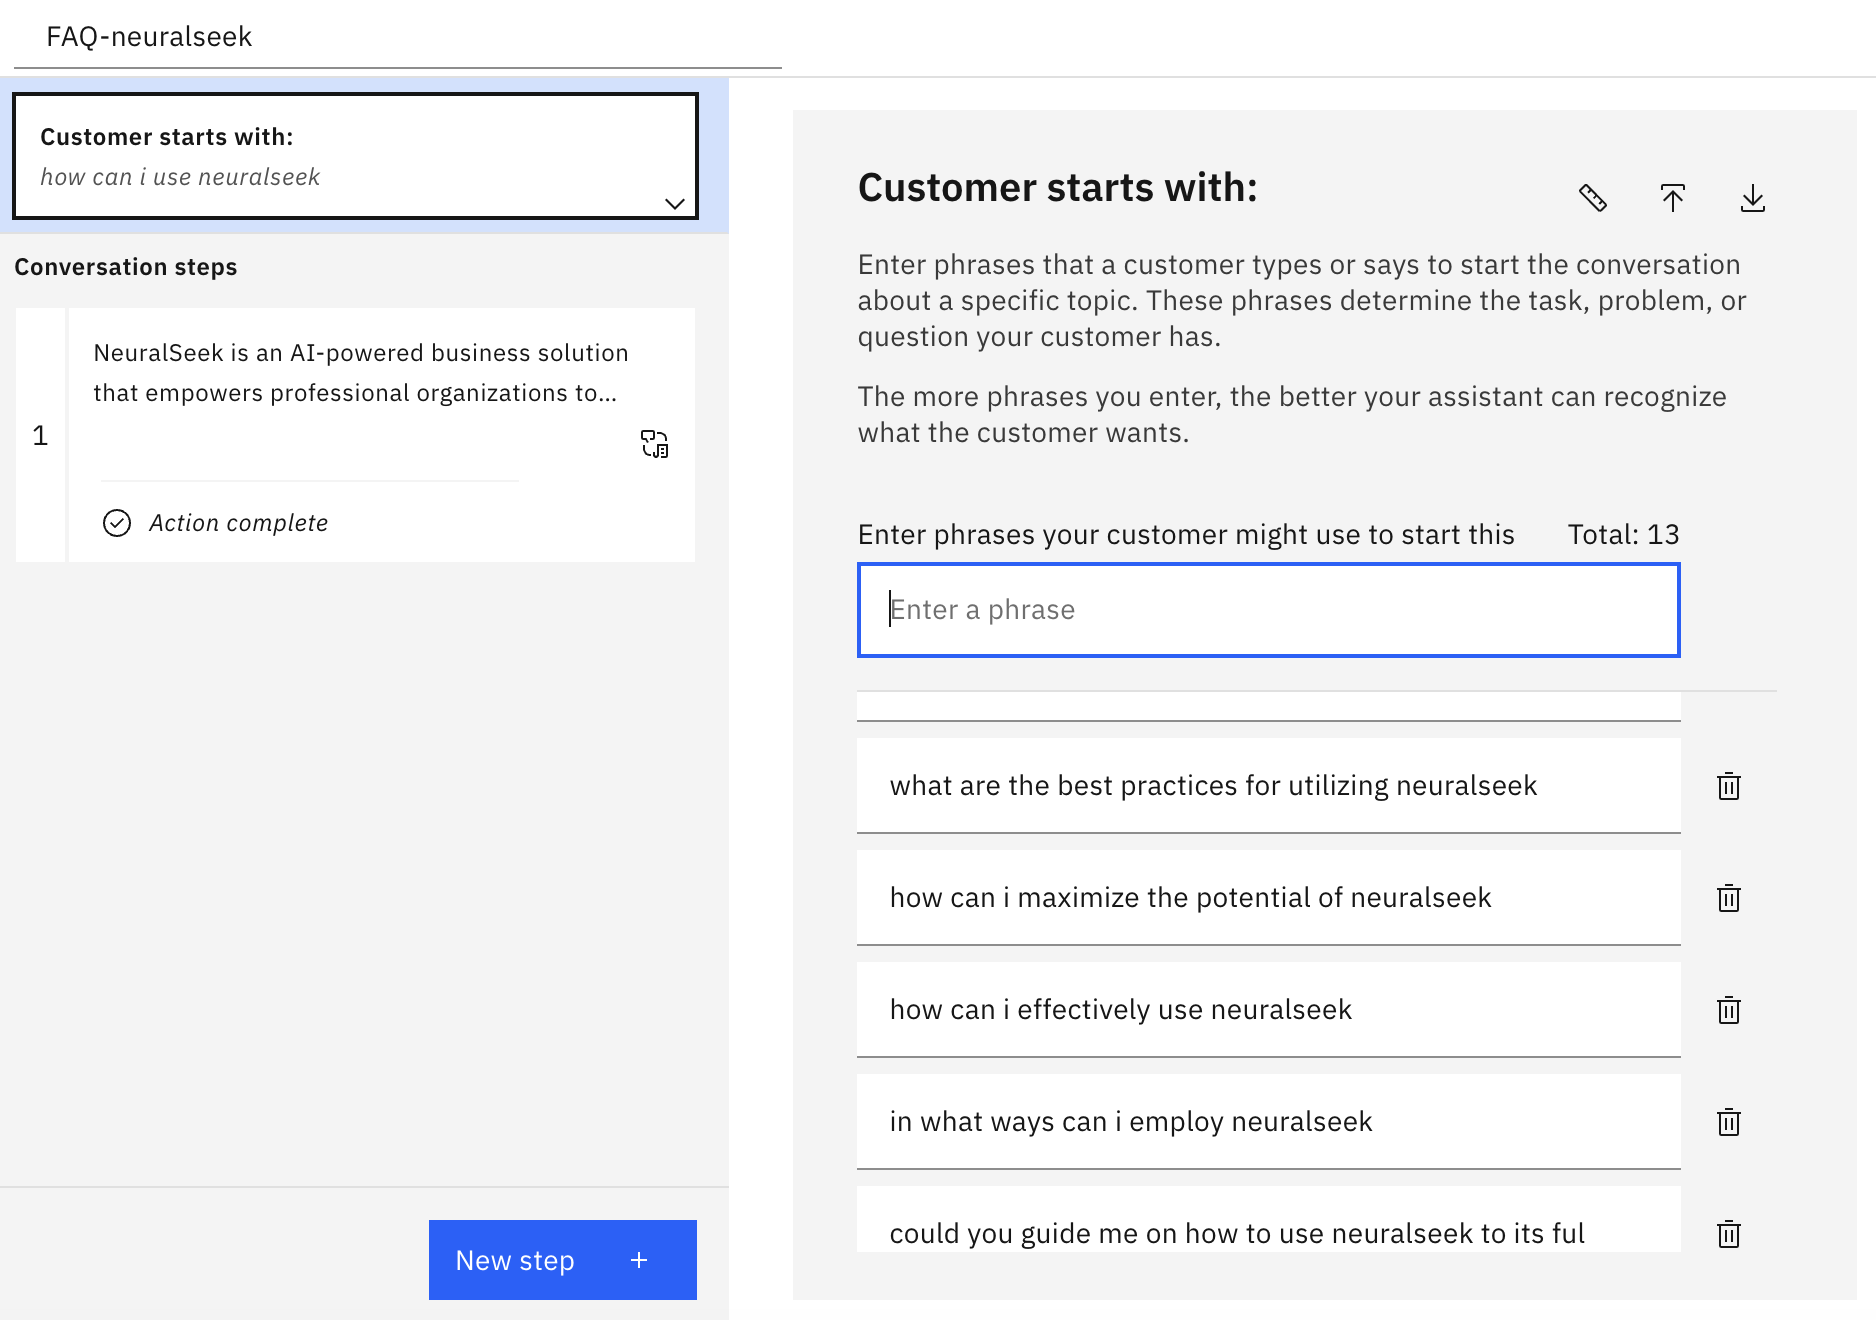
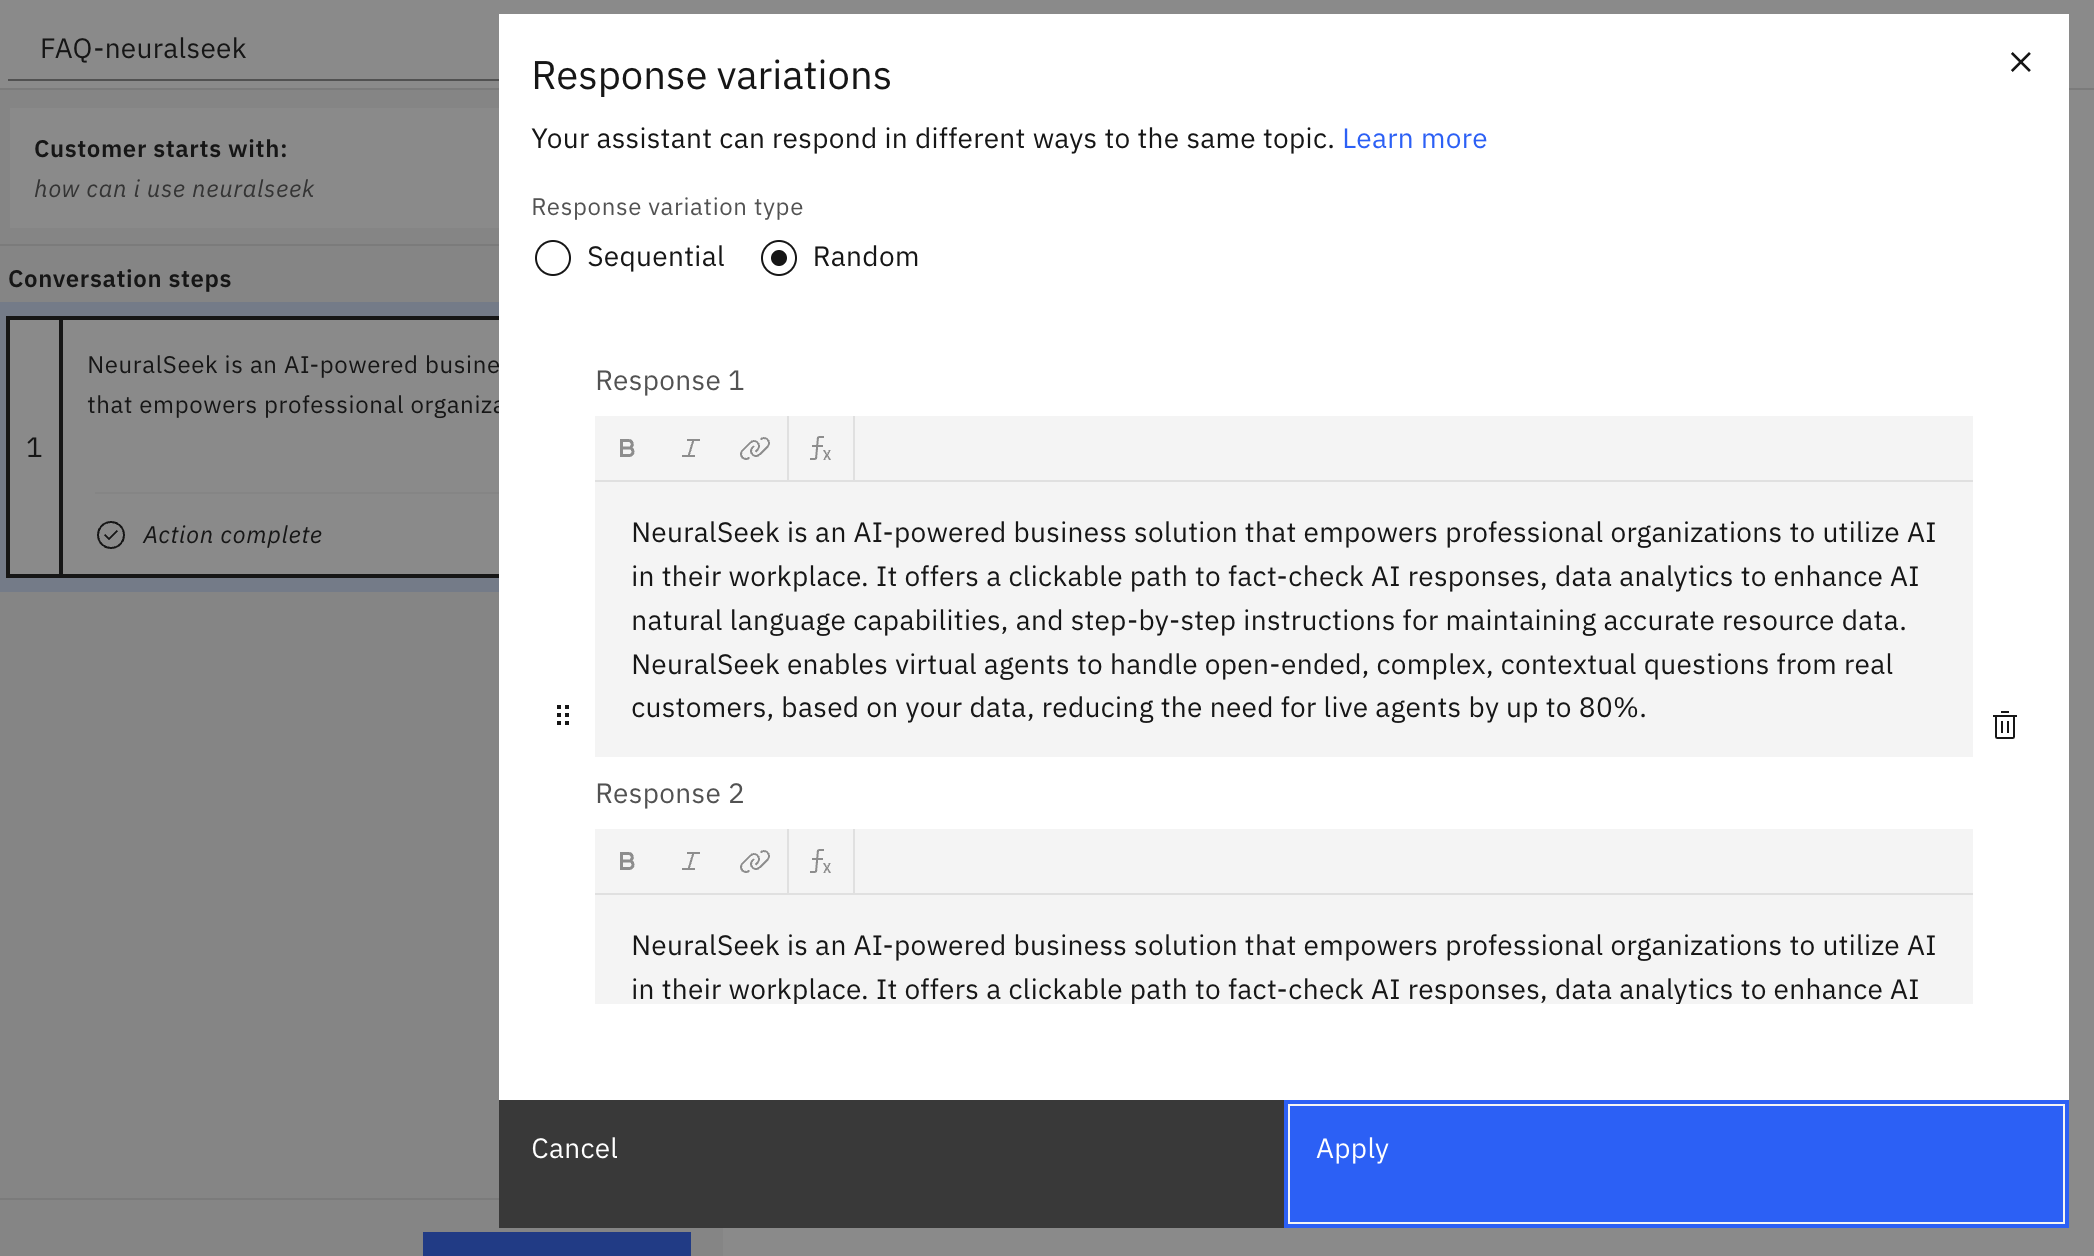
- By clicking one of the actions, you should be able to see the populated list of the questions generated by NeuralSeek.
Steps for AWS Lex
- Log into AWS Management Console and navigate to AWS Lex > Bots. You should see a list of available bots to merge with NeuraSeek.
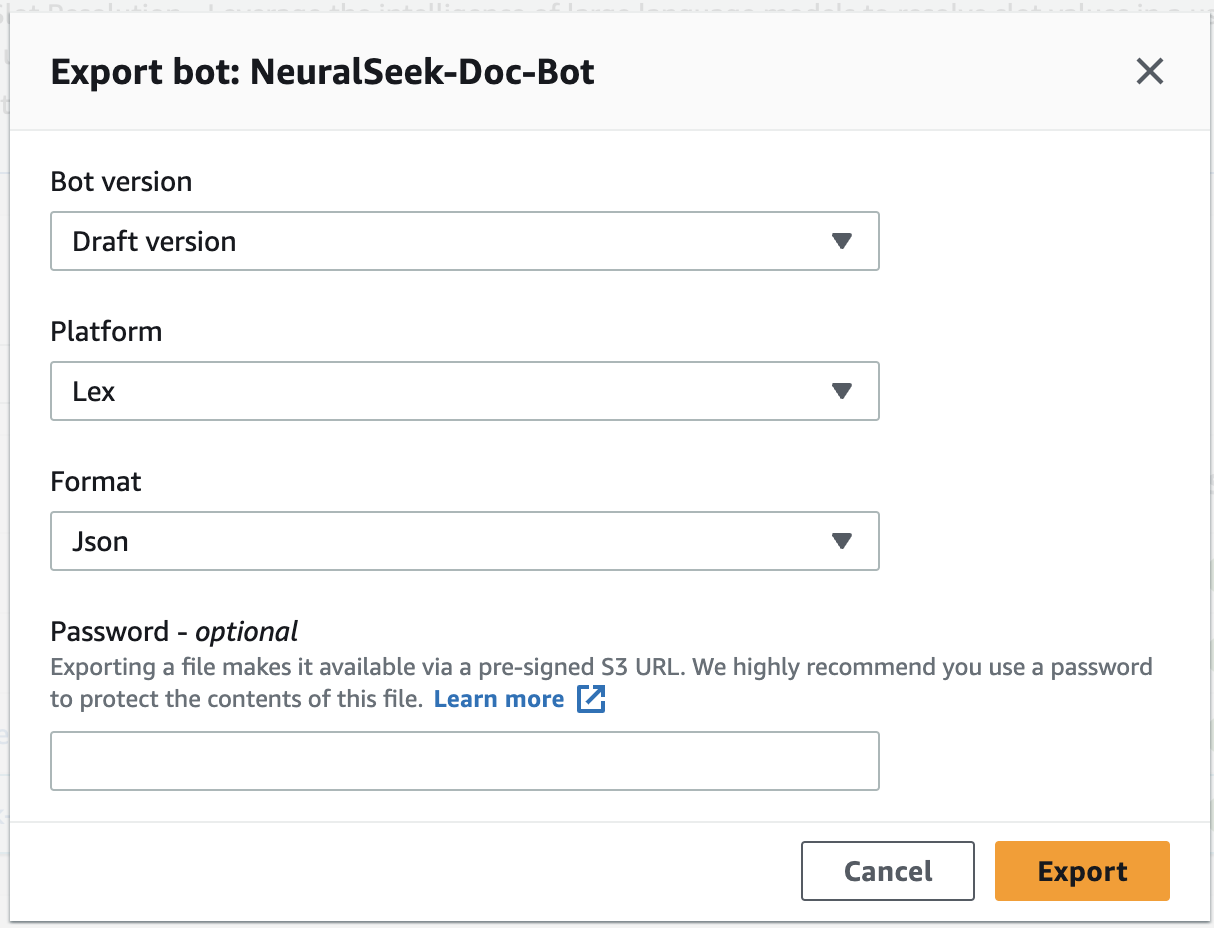
- In the Bots list in the main view, select the desired bot and click Action > Export. An Export Bot: dialog is shown. Leave all the default values and click Export. A blue banner is shown to indicate exporting followed by a green banner when successfully exported/downloaded.
- Navigate into your NeuralSeek instance and click on the Curate tab. Click on the
Import Base AWS Lex V2button in the upper right corner.
- Import the zipped AWS Lex file you exported from the Lex bot. The button will switch to
Base AWS Lex V2 Uploaded. After import, intents will not get added to the content list, but duplicates will show an indicator if certain intents are already present.
- Select the desired intents that you want to export into AWS Lex by checking the boxes next to the intent. Upon selection, a new button
Export to AWS Lex V2will appear. Click the button to download a zipped file containing the intents.
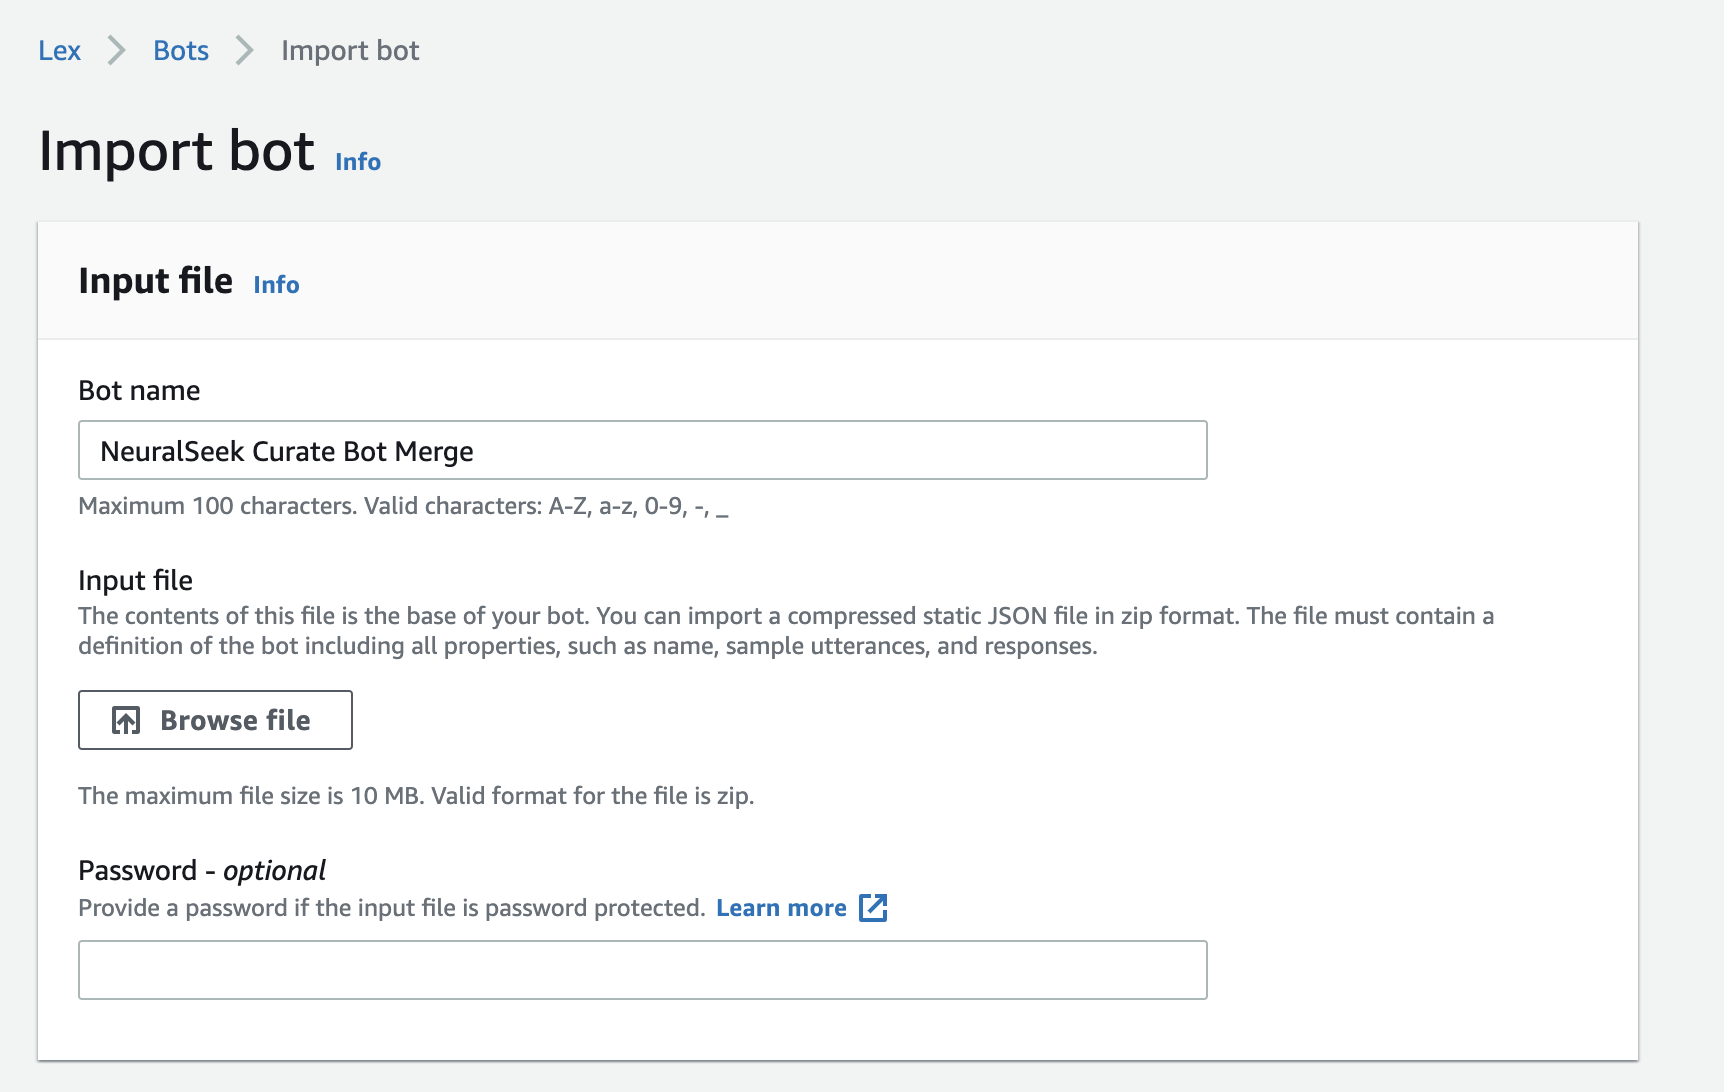
- Navigate back to the Amazon Lex > Bots screen in the AWS Management Console, and click Actions > Import.
- Fill in the new Bot name, browse for the zip file, set the COPPA yes/no, set the IAM permissions, and then scroll down and click Import. You'll see a blue banner that the bot is being imported followed by a successfully imported banner.
- Find the imported bot in the bots list and open it by clicking on its name. The details for the merged bot is shown. Notice the Intents section in the left pane has both the original intents and the NeuralSeek intents merged into a single bot.
- Click the build button. You can now test the newly imported intents.
Round-Trip Monitoring
Navigate to the Integrate tab within NeuralSeek. The available options containing "Logs" provide step-by-step instruction on implementing Round-Trip monitoring on deployed NeuralSeek Intents specific to the cloud provider.
Enabling this feature aids in keeping source data up-to-date for optimal answer generation. When NeuralSeek curated intents imported into the Virtual Agent are hit, a call back to NeuralSeek occurs which monitors the curated intents for outdated information, and alerts the user of necessary updates based on changes to relevant documentation in the connected KnowledgeBase.
Inside of NeuralSeek's Curate screen, this would look like:


